
0
Owner's of the Axis Communications Security Camera Axis Communications Security Camera gave it a score of 0 out of 5. Here's how the scores stacked up:

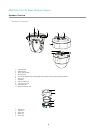

AXIS P5512-E PTZ Dome Network Camera
Accessing the Product
1. Click Use HTTPS.
A temporary certicate (valid for one year) is created, enabling encryption of all trafc to and from the product, and the
password can now be set securely.
2. Enter a password and then re-enter it to conrm the spelling.
3. Click OK. The password has now been congured.
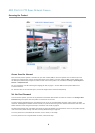
The Live View Page
The controls and layout of the Live View page may have been customized to meet specic installation requirements and user
preferences. Consequently, some of the examples and functions featured here may differ from those displayed in your own Live View
page. The following provides an overview of each available control.
Controls on the Live View Page
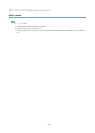
Select a stream prole for the Live View page from the Stream Prole drop-down list. For information about how
to congure stream proles, see page 17.
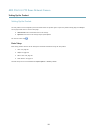
The Manual Trigger button is used to trigger an action rule from the Live View page. For information about how to
congure and enable the button, see Manual Trigger, on page 9 .
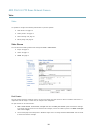
Click Snapshot to save a snapshot of the video image. Right-click the video image to save it in JPEG format on your
computer. This button is primarily intended for use when the AXIS Media Control viewer toolbar is not available.
Enable this button from Live View Cong > Action Buttons.
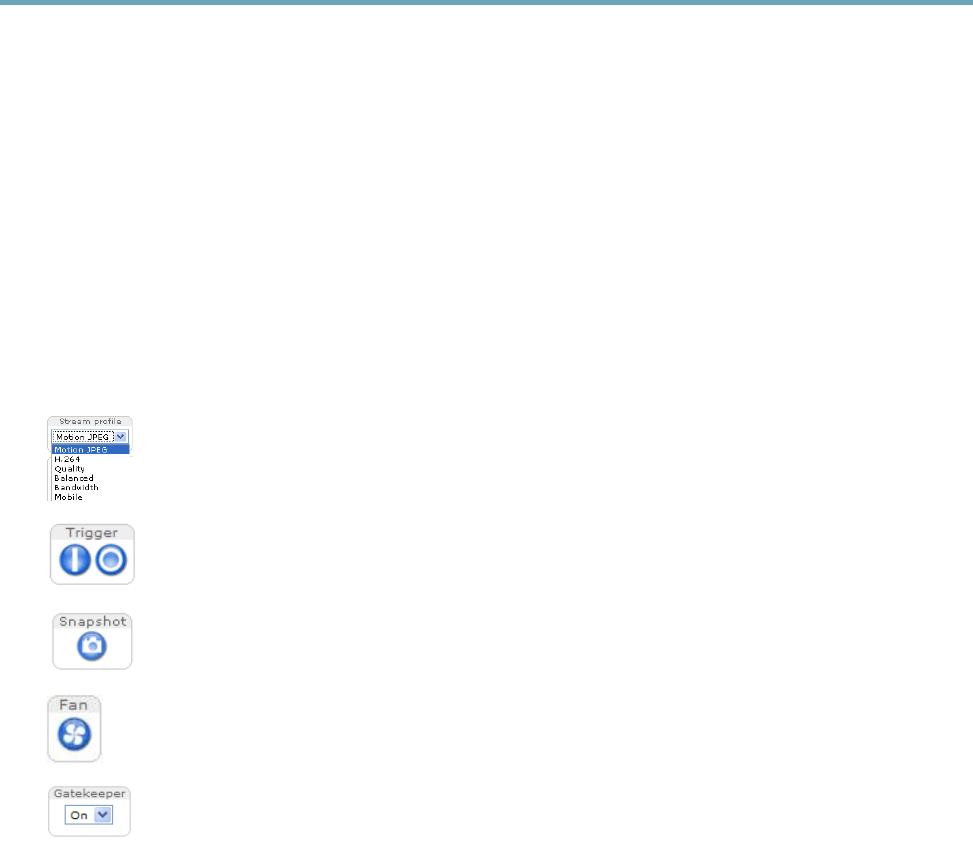
The fan is activated automatically. Press this button to manually activate the product’s fan. To enable the fan
button, go to Live View Cong > Action Buttons. and select Show fan button.
Enable or disable the Gatekeeper by selecting On or Off from the drop-down list. Read more about the Gatekeeper
on page 24.
Manual Trigger
The Manual Trigger is used to trigger an action rule from the Live View page. The manual trigger can for example be used to
validate actions during product installation and conguration.
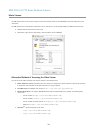
To congure the manual trigger:
1. Go to Setup > Events.
2. Click Add to add a new action rule.
3. From the Trigger drop-down list, select Input Signal.
4. From the second drop-down list, select Manual Trigger.
5. Select the desired action and congure the other settings as required.
For more information about action rules, see Events, on page 30.
To show the manual trigger buttons in the Live View page:
9


Find Your Products By Category
- Photography
- Video Game
- Computer Equipment
- TV and Video
- Communications
- Automotive
- Portable Media
- Marine Equipment
- Cell Phone
- Baby
- Home Audio
- Fitness & Sports
- Power Tools
- Household Appliance
- Car Audio and Video
- Personal Care
- Kitchen Appliance
- Lawn and Garden
- Musical Instruments & Equipment
- Laundry Appliance
- Outdoor Cooking
Please Login
