

0
Owner's of the 3Com Switch SuperStack II gave it a score of 0 out of 5. Here's how the scores stacked up:
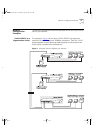
Placing Units On Top of Each Other 25
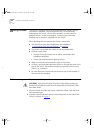
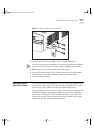
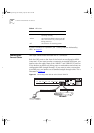
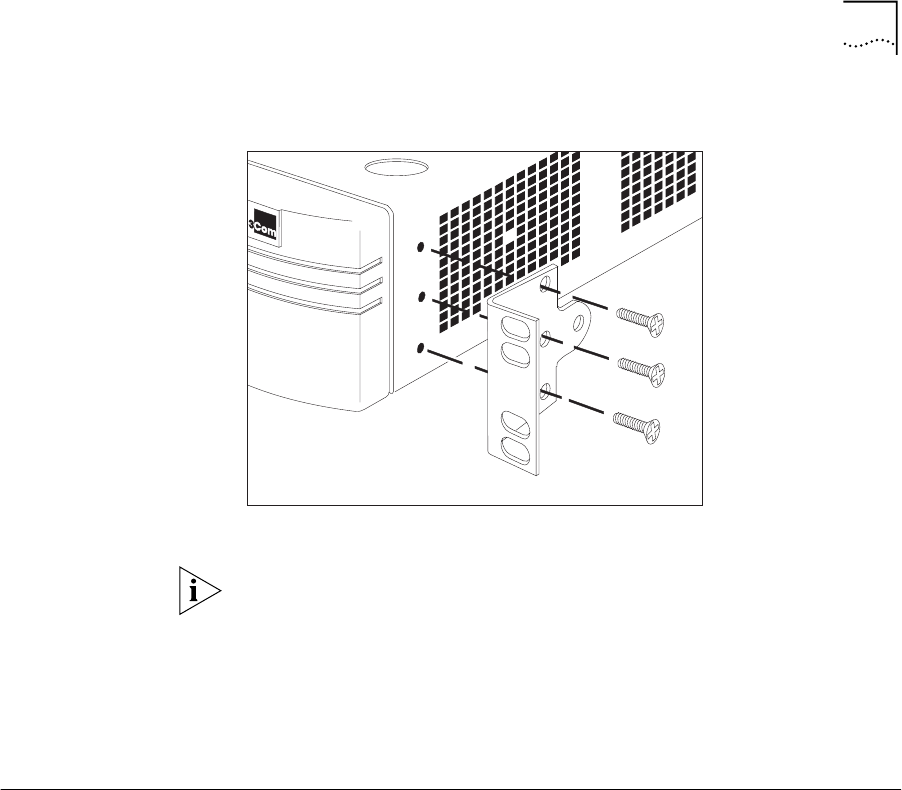
Figure 7
Fitting a bracket for rack mounting
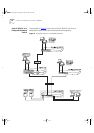
3
Insert the three screws and tighten with a suitable screwdriver.
You must use the screws supplied with the mounting brackets. Damage
caused to the unit by using incorrect screws invalidates your warranty.
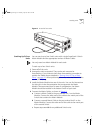
4
Repeat steps 2 and 3 for the other side of the Switch.
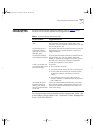
5
Insert the Switch into the 19-inch rack and secure with suitable screws
(not provided). Ensure that ventilation holes are not obstructed.
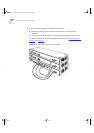
6
Connect network cabling.
Placing Units On
Top of Each Other
If the Switch units are free-standing, up to four units can be placed one
on top of the other. If you are mixing a variety of SuperStack
®
II Switch
and Hub units, the smaller units must be positioned at the top.
If you are placing Switch units one on top of the other, you must use the
self-adhesive rubber pads supplied. Apply the pads to the underside of
each Switch, sticking one in the marked area at each corner. Place the
Switch units on top of each other, ensuring that the pads of the upper
unit line up with the recesses of the lower unit.
16982ug1.bk Page 25 Thursday, April 29, 1999 4:51 PM


Find Your Products By Category
- Photography
- Video Game
- Computer Equipment
- TV and Video
- Communications
- Automotive
- Portable Media
- Marine Equipment
- Cell Phone
- Baby
- Home Audio
- Fitness & Sports
- Power Tools
- Household Appliance
- Car Audio and Video
- Personal Care
- Kitchen Appliance
- Lawn and Garden
- Musical Instruments & Equipment
- Laundry Appliance
- Outdoor Cooking
Please Login
