

3.3
Owner's of the Sony Digital Camera Sony Digital Camera gave it a score of 3.3 out of 5. Here's how the scores stacked up:


83
Using your computer
Installing the software (supplied)
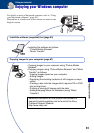
You can install the software (supplied)
using the following procedure.
• Log on as Administrator.
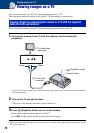
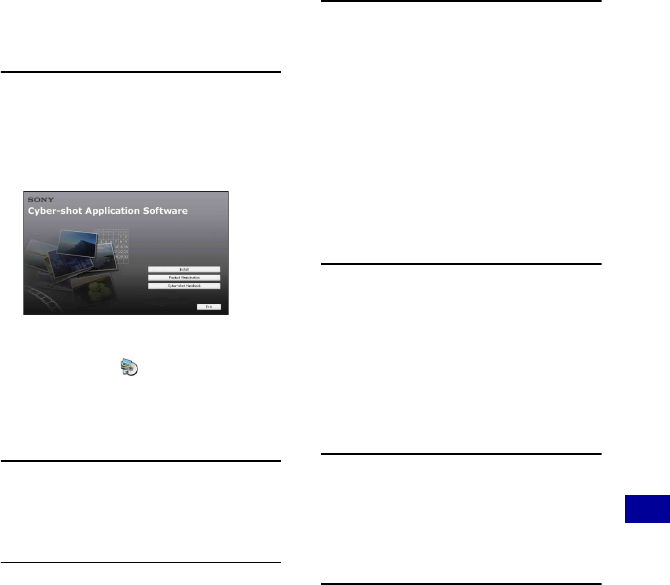
1 Turn on your computer, and
insert the CD-ROM (supplied) into
the CD-ROM drive.
The installation menu screen appears.
• If it does not appear, double-click
[Computer] (in Windows XP/2000, [My
Computer])
t (SONYPICTUTIL).
• Under Windows Vista, the AutoPlay screen
may appear. Select “Run Install.exe.” and
follow the instructions that appear on the
screen to proceed with the installation.
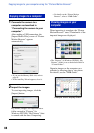
2 Click [Install].
The “Choose Setup Language” screen
appears.
3 Select the desired language, then
click [Next].
The [Location Settings] screen appears.
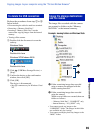
4 Select the [Region] and [Country/
Area], then click [Next].
When the [Welcome to the InstallShield
Wizard for Sony Picture Utility]
appears, click [Next].
The “License Agreement” screen
appears. Read the agreement carefully.
If you accept the terms of the
agreement, click the radio button next to
[I accept the terms of the license
agreement] and then click [Next].
5 Follow the instructions on the
screen to complete the
installation.
• When the restarting confirmation message
appears, restart the computer following the
instructions on the screen.
• DirectX may be installed depending on the
system environment of your computer.
6 Remove the CD-ROM after the
installation is complete.
• Installing software as follows:
– Picture Motion Browser
– Music Transfer


Find Your Products By Category
- Photography
- Video Game
- Computer Equipment
- TV and Video
- Communications
- Automotive
- Portable Media
- Marine Equipment
- Cell Phone
- Baby
- Home Audio
- Fitness & Sports
- Power Tools
- Household Appliance
- Car Audio and Video
- Personal Care
- Kitchen Appliance
- Lawn and Garden
- Musical Instruments & Equipment
- Laundry Appliance
- Outdoor Cooking
Please Login
