
3.3
Owner's of the Sony Digital Camera Sony Digital Camera gave it a score of 3.3 out of 5. Here's how the scores stacked up:


100
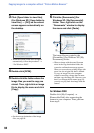
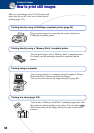
Printing images directly using a PictBridge compliant printer
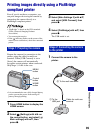
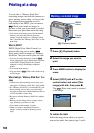
2 Turn on the printer. Press
(Playback) button and turn on the
camera.
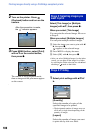
3 Press MENU button, select [Print]
with v/V on the control button,
then press z.
The camera is set to playback mode,
then an image and the print menu appear
on the screen.
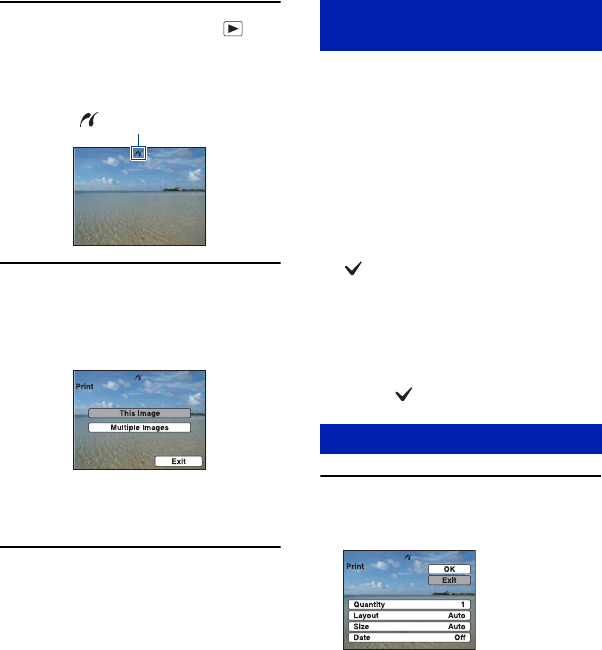
Select [This Image] or [Multiple
Images] with v/V, then press z.
When you select [This Image]
You can print the selected image. Move on
to Stage 4.
When you select [Multiple Images]
You can print multiple selected images.
1 Select the image you want to print with b/
B, then press z.
appears on the selected image.
2 Press MENU to display the menu.
3 Select [OK] with
v, then press z.
• After you select [Multiple Images] on the index
screen, you can print all the images in a folder
by selecting the folder selection bar with b and
attaching a mark on the folder.
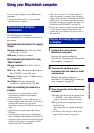
1 Select print settings with v/V/b/
B.
[Quantity]
Selects the number of copies of the
specified image to be printed.
• The designated number of images may not
all fit onto a single sheet depending on the
quantity of images.
[Layout]
Selects the number of image you want
to print side by side on a sheet.
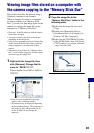
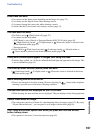
After the connection is made,
the indicator appears.
Stage 3: Selecting images you
want to print
Stage 4: Printing


Find Your Products By Category
- Photography
- Video Game
- Computer Equipment
- TV and Video
- Communications
- Automotive
- Portable Media
- Marine Equipment
- Cell Phone
- Baby
- Home Audio
- Fitness & Sports
- Power Tools
- Household Appliance
- Car Audio and Video
- Personal Care
- Kitchen Appliance
- Lawn and Garden
- Musical Instruments & Equipment
- Laundry Appliance
- Outdoor Cooking
Please Login
