
0
Owner's of the Cisco Systems Home Security System Cisco Asa 5505 10-User Bundle gave it a score of 0 out of 5. Here's how the scores stacked up:

4-5
Cisco ASA 5505 Adaptive Security Appliance Hardware Installation Guide
OL-18362-01
Chapter 4 Maintenance and Upgrade Procedures
Installing and Replacing the SSC
Table 4-1 describes the SSC LEDs.
Installing an SSC
To install a new SSC for the first time, perform the following steps:
Step 1 Power off the adaptive security appliance.
Step 2 Locate the grounding strap from the accessory kit and fasten it to your wrist so that it contacts your bare
skin. Attach the other end to the chassis.
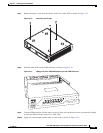
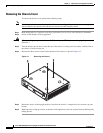
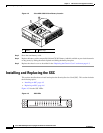
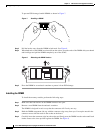
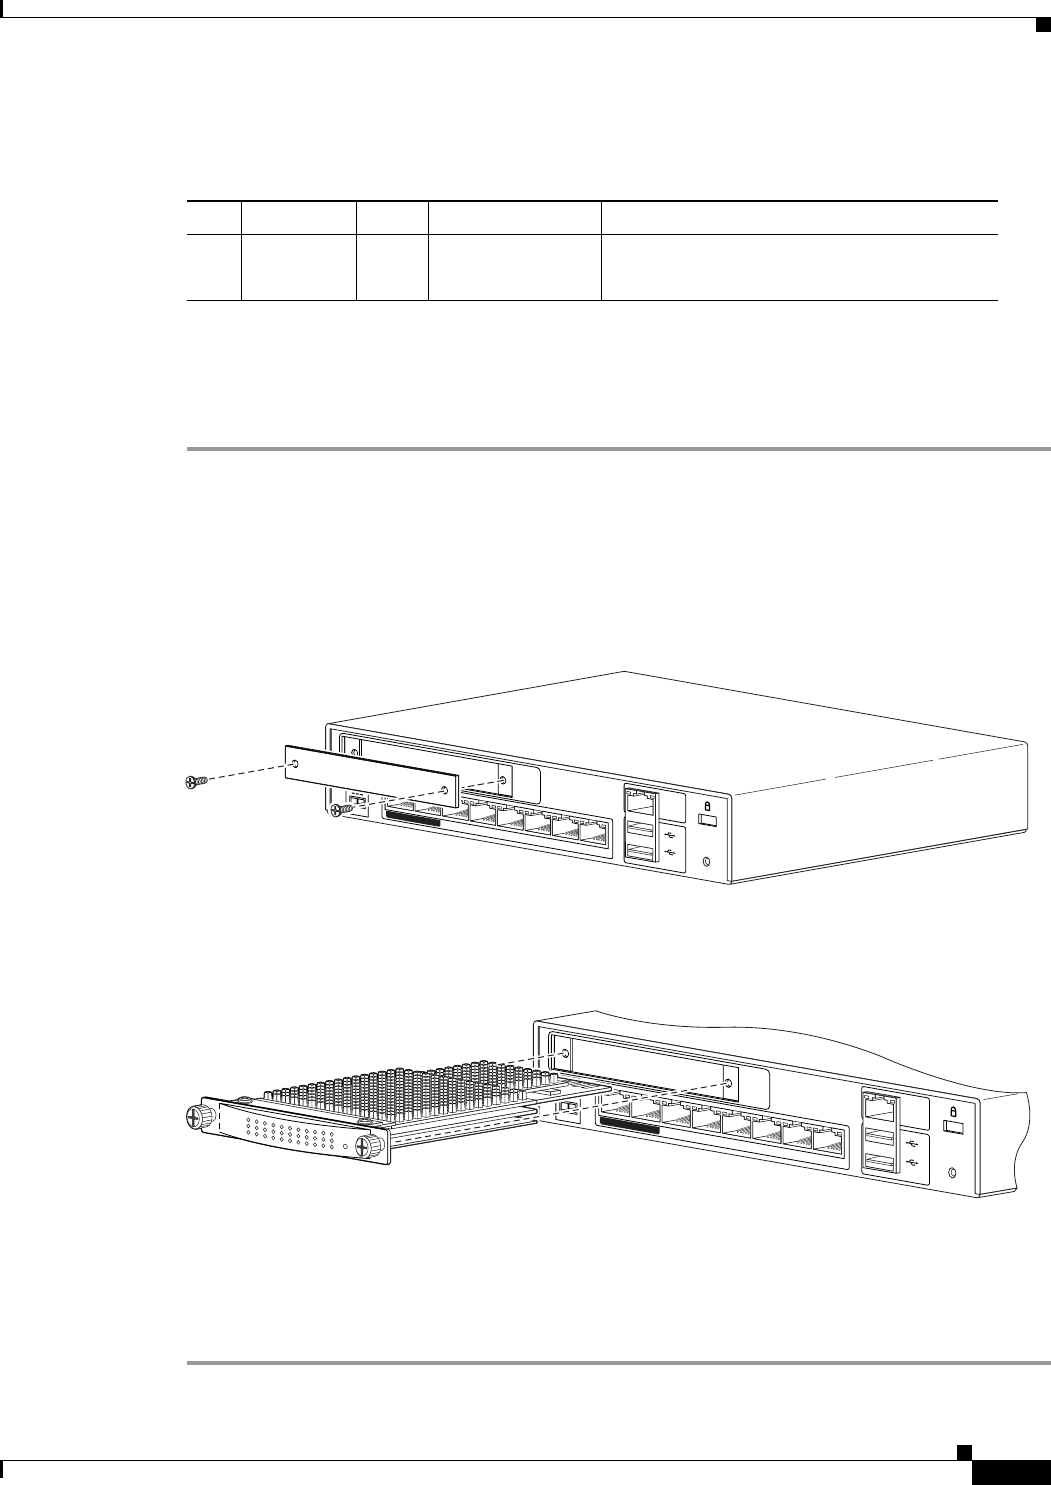
Step 3 Remove the two screws (as shown in Figure 4-4) at the left rear end of the chassis, and remove the slot
cover.
Figure 4-4 Removing the Screws from the Slot Cover
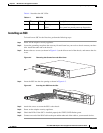
Step 4
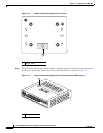
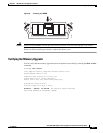
Insert the SSC into the slot opening as shown in Figure 4-5.
Figure 4-5 Inserting the SSC into the Slot
Step 5 Attach the screws to secure the SSC to the chassis.
Step 6 Power on the adaptive security appliance.
Step 7 Check the LEDs. If the SSC is installed properly the STATUS LED flashes green.
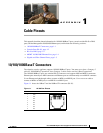
Step 8 Connect one end of the RJ-45 cable to the port and the other end of the cable to your network devices.
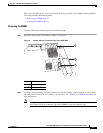
Table 4-1 SSC LEDs
LED Color State Description
1 STATUS Green Flashing
Solid
The system is booting.
The system has passed power-up diagnostics.
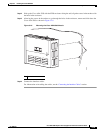
251165
1
2
Console
RESET
7
POWER over ETHERNET
6
543210
POWER
48
VDC
Security
Services
Card Slot
1
2
Console
RESET
7
POWER over ETHERNET
6
543210
POWER
48
VDC
Security
Services
Card Slot
sc
i
A
-05
C
C
S
o
S
A
S
S
U
S
T
T
A
251166


Find Your Products By Category
- Photography
- Video Game
- Computer Equipment
- TV and Video
- Communications
- Automotive
- Portable Media
- Marine Equipment
- Cell Phone
- Baby
- Home Audio
- Fitness & Sports
- Power Tools
- Household Appliance
- Car Audio and Video
- Personal Care
- Kitchen Appliance
- Lawn and Garden
- Musical Instruments & Equipment
- Laundry Appliance
- Outdoor Cooking
Please Login
