
0
Owner's of the Bushnell GPS Receiver Onix gave it a score of 0 out of 5. Here's how the scores stacked up:

22
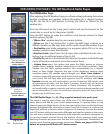
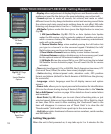
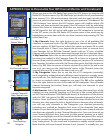
USING YOUR ONIX400 GPS RECEIVER : The HOT Button Menu
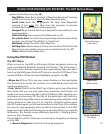
2) All Waypoints-pick from list of all stored waypoints (shown in order
beginning with the closest)
3) POI (Point of Interest)-gas stations, hospitals, airports, etc.
4) Places-built into the base map-city names, etc.
5) My Trails-pick from list of saved Trails (see next section). The ONIX will
start pointing you to the closest point on that trail. A trail is a previously
walked path, for example a trail that you took back to your campsite
that wound around trees and past the edge of a pond.
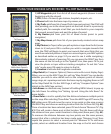
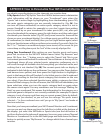
6)
My Routes
-pick from your list of saved routes (point to point
navigation)
7)
My Map Areas
-pick from list of your previously created custom map
areas
8)
My Photos
(or Topos)-after you pick a photo or topo from the list (arrow
down to it) and press OK to confirm you wish to navigate towards that
area, the ONIX will begin to point you towards that area. (Note that you
must have selected photos or topos as a screen layer in your MAP options
as described
earlier on page 9 if you want to see it while navigating.)
Alternatively, instead of pressing OK, you can press the RIGHT key from
the name on the list and go to the “eyeball” icon, then press OK to just
view the photo or topo without starting navigation. To exit this “view
only” mode, press OK again to return to the list.
9) Location-a latitude and longitude coordinate
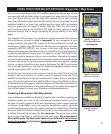
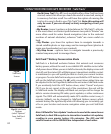
• Map Detail (or Compass Options) (Name varies with current display Page):
When you are on the MAP Page, this will say “Map Details”. You can decide
whether you wish to view details such as the compass, points of interest,
range rings, etc. superimposed onto the base map by toggling them on/off
in the Map Detail list. On the NAV Page, it will say “Compass Options” (see
details in the NAV Page section)
• Info Boxes: an alternate way (instead of holding MENU down) to pop up
the Info Boxes for editing. See “Setting Up and Using the Info Boxes” for
more details.
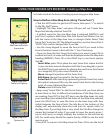
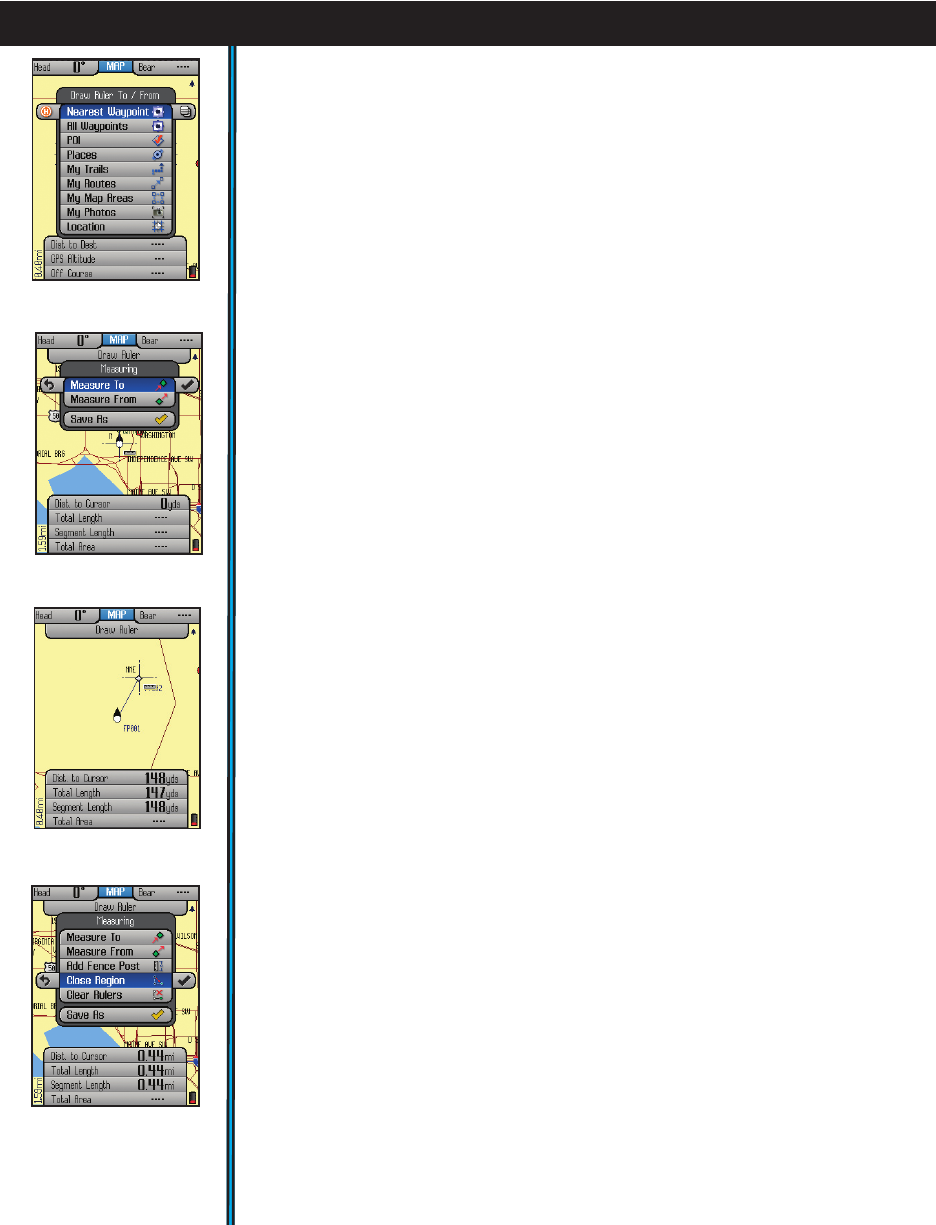
• Draw Ruler: a tool to quickly find the distance between multiple points
on the map. After selecting “Draw Ruler” from the MAP Page HOT menu
(Fig.
38)
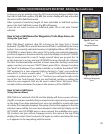
, either press OK and move the cursor to any point on the map, or press
the RIGHT key and chose an existing location from the To/From list
(Fig. 40)
.
Once a location has been selected, press OK and choose “Measure To”
(Fig.
41)
. This will create a fence post at that location. The info boxes will show
the distance from your current location to that point (fence post)
(Fig. 42)
.
To measure the distance between any two points, use the same process,
except that after a selection has been made, press “Measure From”, then
repeat the process to select a second point to “Measure To”. To add more
points, select an additional location from the map or the list and choose
Fig 42. Draw Ruler-
Info Box Data
Fig 40. Draw Ruler-
To/From List
Fig 41. Measuring
Menu-Basic Options
Fig 43. Measuring
Menu-More Options


Find Your Products By Category
- Photography
- Video Game
- Computer Equipment
- TV and Video
- Communications
- Automotive
- Portable Media
- Marine Equipment
- Cell Phone
- Baby
- Home Audio
- Fitness & Sports
- Power Tools
- Household Appliance
- Car Audio and Video
- Personal Care
- Kitchen Appliance
- Lawn and Garden
- Musical Instruments & Equipment
- Laundry Appliance
- Outdoor Cooking
Please Login
