

0
Owner's of the Bushnell GPS Receiver Onix gave it a score of 0 out of 5. Here's how the scores stacked up:
14
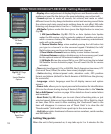
EXPLORING THE PAGES : The NAV Page & Almanac Page
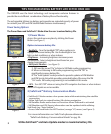
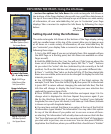
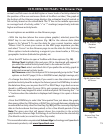
The NAV Page
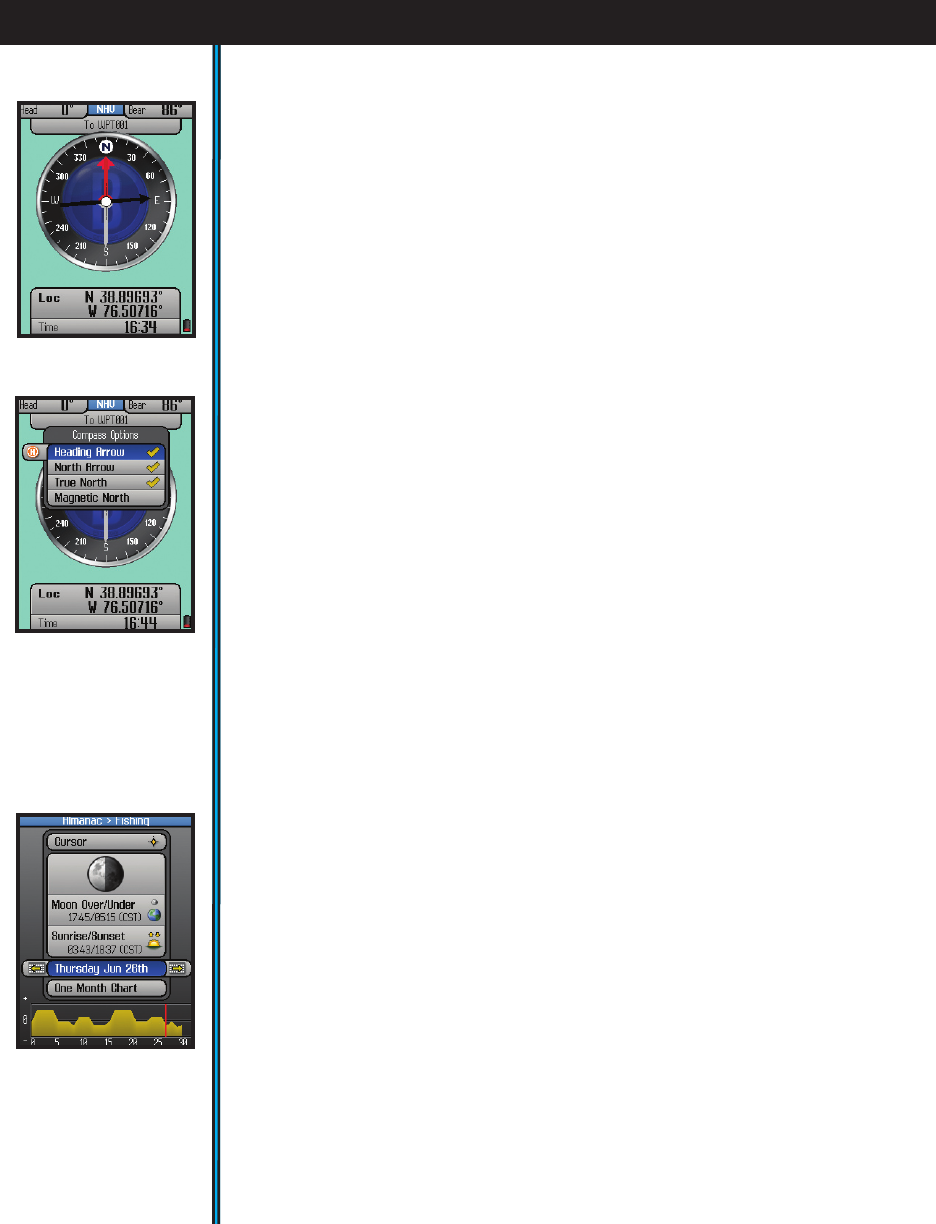
The NAV page provides a standard compass display, with arrows to indicate
your last heading and/or current bearing, along with magnetic or true north
indication and other optional navigation related data, depending on the
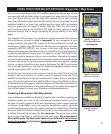
display preferences the user has set up. (Fig. 15) This page is especially useful
if you do not choose to see a compass image layered on top of the MAP page-
you may switch over to it at any time, then return to MAP page just as you left
it. The ONIX400 utilizes a digital compass, so you do not need to be moving to
obtain
a bearing, unlike GPS driven compasses. The digital compass is self-
calibrating (no user- initiated calibration routine is required).
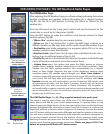
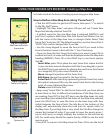
The view options (press the HOT button, DOWN to Compass Options, press
OK) of the NAV page include (Fig. 16):
•Heading Arrow-if user selected. Small arrow “head” only. Indicates the
direction you are actually moving in.
•North Arrow-if user selected-points to true or magnetic north (user
options). Identified by “N” circle at head of arrow.
•True North-direction to the earth’s geographic north pole.
•Magnetic North- direction to the earth’s magnetic north pole Note: you
can select True or Magnetic North, but not both together-they are mutually
exclusive.
The NAV page also has a Bearing Arrow (Pg.10, Fig.2), which only appears
during active navigation. This will be seen as a long black line with an arrow
head. It indicates where you should go to get to your navigation destination,
and is only valid while navigating.
To select what is displayed in the 2 upper Info Boxes (which always show Nav
related data), follow the procedure described previously in step 8 of “Setting
Up and Using the Info Boxes”. Make sure the NAV tab is active first (appears
on the far left at the top of the lower Info Boxes). The defaults are Heading
and Bearing Degrees, but these can easily be changed to display distance or
time to your destination, average speed, local time, etc.
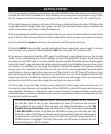
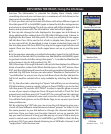
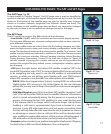
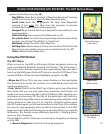
The ALMANAC Page
The Almanac page (Fig. 17) primarily is used to view the information stored in
internal Solunar Edge* data tables, which includes times for sunrise, sunset,
and times when the moon’s position is overhead or “underfoot”, along with
a graphic showing the current moon phase. This solunar chart data can
be displayed for your current position, or any waypoint, point of interest, a
location in another
city or state, etc. You also have the option of viewing
solunar data for a past or future date. Many outdoorsmen have found that
Fig 17.
Almanac Page
(Date Selected)
Fig 16.
NAV Page
View Options
Fig 15.
NAV Page


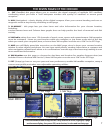
Find Your Products By Category
- Photography
- Video Game
- Computer Equipment
- TV and Video
- Communications
- Automotive
- Portable Media
- Marine Equipment
- Cell Phone
- Baby
- Home Audio
- Fitness & Sports
- Power Tools
- Household Appliance
- Car Audio and Video
- Personal Care
- Kitchen Appliance
- Lawn and Garden
- Musical Instruments & Equipment
- Laundry Appliance
- Outdoor Cooking
Please Login
