

0
Owner's of the Black & Decker Trimmer Black & Decker Trimmer gave it a score of 0 out of 5. Here's how the scores stacked up:


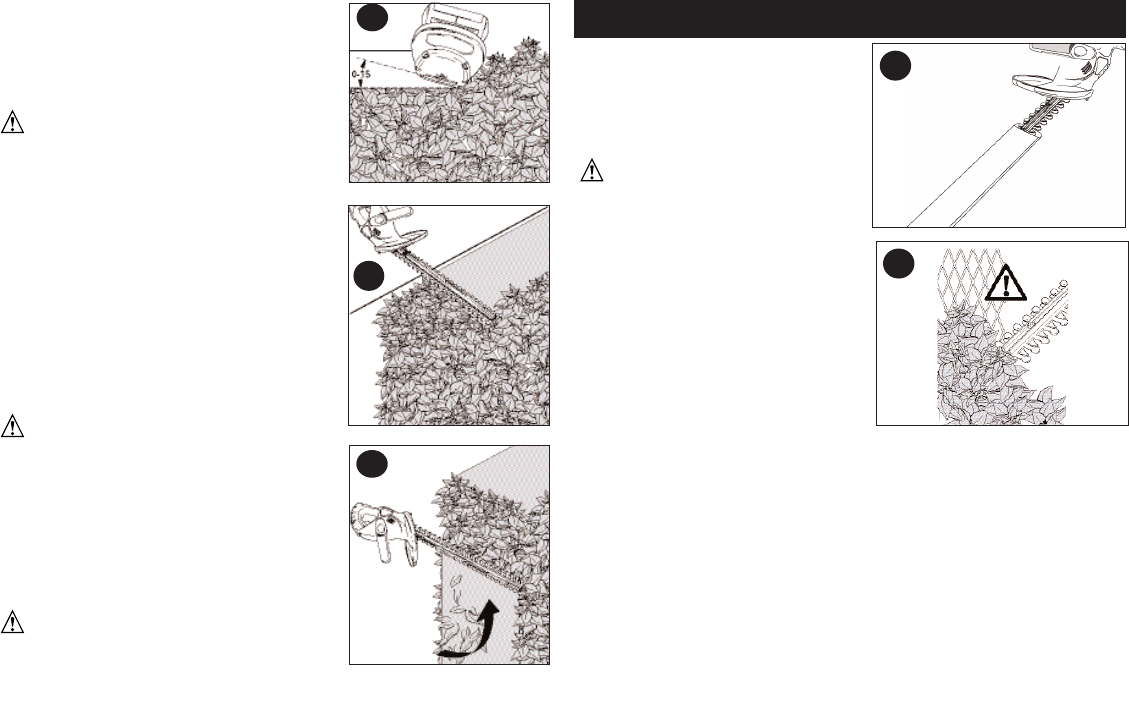
MAINTENANCE
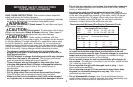
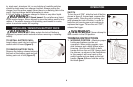
A vinyl sheath is supplied with your
trimmer for storing. Slip the hedge
trimmer into it, as shown in figure 8.
WARNING: Remove
battery pack before servicing, cleaning
or removing material from the
gardening appliance.
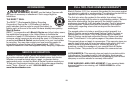
The cutting blades are made from
high quality, hardened steel and with
normal usage, they will not require
resharpening. However, if you
accidentally hit a wire fence (figure 9),
stones, glass or other hard objects,
you may put a nick in the blade. There
is no need to remove this nick as long
as it does not interfere with the
movement of the blade. If it does
interfere, remove the battery and use a fine toothed file or sharpening
stone to remove the nick. If you drop the trimmer, carefully inspect it for
damage. If the blade is bent, housing cracked, or handles broken or if
you see any other condition that may affect the trimmerʼs operation
contact your local Black & Decker Service Center for repairs before
putting it back into use.
Fertilizers and other garden chemicals contain agents which greatly
accelerate the corrosion of metals. Do not store the unit on or adjacent
to fertilizers or chemicals.
With the battery removed, use only mild soap and a damp cloth to
clean the unit. Never let any liquid get inside the unit; never immerse
any part of the unit into a liquid. Prevent the blades from rusting by
applying a film of light machine oil after cleaning.
9
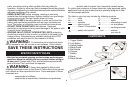
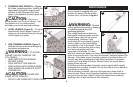
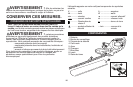
2. TRIMMING NEW GROWTH – (Figure
5) A wide, sweeping motion, feeding the
blade teeth through the twigs is most
effective. A slight downward tilt of the
blade, in the direction of motion gives the
best cutting.
CAUTION: Do not cut
stems greater than 3/4 inch (19mm). Use
the trimmer only for cutting normal
shrubbery around houses and buildings.
3. LEVEL HEDGES (Figure 6) – To obtain
exceptionally level hedges a piece of
string can be stretched along the length
of the hedge as a guide.
4. SIDE TRIMMING HEDGES (Figure 7) –
Hold the trimmer as shown and begin at
the bottom and sweep up.
WARNING: TO GUARD
AGAINST INJURY, OBSERVE THE
FOLLOWING:
• READ INSTRUCTION MANUAL
BEFORE USING.
• SAVE INSTRUCTION MANUAL.
• KEEP HANDS AWAY FROM BLADES.
• KEEP HANDS ON HANDLES. DONʼT
OVERREACH.
CAUTION: BLADE MAY
COASTAFTER TURN OFF.
• DO NOT USE UNDER WET CONDITIONS.
7
6
8
5
9


Find Your Products By Category
- Photography
- Video Game
- Computer Equipment
- TV and Video
- Communications
- Automotive
- Portable Media
- Marine Equipment
- Cell Phone
- Baby
- Home Audio
- Fitness & Sports
- Power Tools
- Household Appliance
- Car Audio and Video
- Personal Care
- Kitchen Appliance
- Lawn and Garden
- Musical Instruments & Equipment
- Laundry Appliance
- Outdoor Cooking
Please Login
